STEP BY STEP
We teach ourselves. The role of instructors / professors / et. al. is to foment learning. You (YES YOU!) then have to do what is necessary for the assimilation of knowledge. This is my belief.
And this is why I say that Transparent Drawing is not a how to draw book. The world is absolutely full of books that tell you how to draw. That, in and of itself, is a big problem and is what I am working to correct.
Still, we live in a world with the expectation that we should be told how to do things. Students expect that their possibility of failure should be eliminated. And if they do fail, it is the educator’s fault, not theirs. Similarily, if we want to know how to lay floor tile, we expect that a You Tube video will tell us exactly how to do it, with guaranteed success.
So, in the description below, I demonstrate how I got to the drawing at the top of the page. My goal is to give a better sense of the dynamics of Form Generation. The description hopefully asks, and then answers:
-what Source Image was I looking at?
-what was the resultant drawing for each step in the process?
-what was the exact sequence of the Drawing Assembly?
-and most importantly, how did I respond to the geometry that was applied in the previous step?
This assembly can be broken down into the broad categories of:
1. Lines
2. Wash
3 Spray
Lines

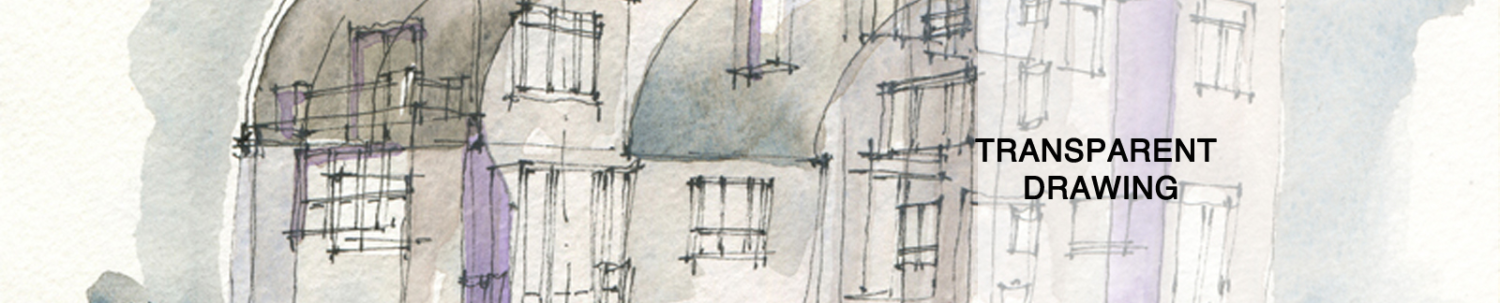
I started by drawing a barn. Very plain and very simple. The Source Image is the inset photo, which I took in Nova Scotia, while riding my bike. The watery quality of the lines is a result of wetting the paper first, and then drawing with a Gelly Roll 08 pen.

Over that, I then drew from another source image, which is a power generation plant in Ontario. At this point, we achieve Form Combine. This was also drawn in the wet. At this point, we have drawn two holistic forms, from our photographs.
For all of the drawing instructors out there, this is important. We have worked to delineate two forms from the external world. This should feel familiar to all of us. We depict, on our paper, a more or less normal, albeit transparent, mindset. So far, all is well.

The blue lines are my initial response to the geometry of the Form Combine. This is Automatic Form. They are fun to apply, as they respond to the Form Combine that you have generated. As you draw them, you should begin to feel the sensation of creation as a form begins to suggest itself. The lines are improvisatory. To put this into musical terms, the Form Combine is the chordal structure, and the blue lines are your improvisation over the chordal structure.

Wash
In response, as always, to the geometry that you have established, we apply a lighter wash, which is conceived to be the back side of a form.

To continue to move toward holistic form, a darker wash is applied, which is conceived to be the elements of the form that are closest to you. A form is starting to become visible, given the interplay of the light and dark wash.

Spray
As the last move toward holistic form, I applied a layer of red spray paint. I first drew with a red Prismacolor where I thought the form should be completed. The yellow painters tape is what the mask looks like before the application of the paint.
Summary
I believe that the greatest utility of this segmented presentation is to demonstrate how we respond to the geometry that you have applied to your paper. This is one Assembly by which previously unimagined form is generated.
So my question to you, dear reader, is, is this helpful? Does this step by step segmentation, from Source Images to Holistic Form, inspire you?

Recent Comments